Landscaping makes a huge difference in the curb appeal of your home. But planting a new bed of daylilies—although it can be a fun experience—can also be quite stressful, particularly if you are new to gardening. We get so many “Am I doing it right?” questions from our customers that we thought a blog post was necessary!
Daylilies come in so many colors, sizes, heights and styles that the temptation to plant them and let them show off on their own is very strong. With just a little forethought, however, instead of just planting a “bed of daylilies” you can create a showpiece in almost the same amount of steps.
1. Decide on a Landscaping Design
One of the first decisions to make when designing a new garden bed is to decide what type of “look” you want in your garden. There are many different options including a collector’s bed, mass planting, or a designed landscape bed. Each of these options has its own unique characteristics and benefits. If you’ve visited our display garden, the majority of those beds are considered to be a mass planting, although we do have several collector’s beds (beds that feature one specific type of daylily— like spiders or doubles—instead of a mix of everything) around our property, too. A designed landscape bed usually incorporates different heights, colors, and bloom seasons to create a visually appealing layout. It is most often seen at commercial properties or to add some curb appeal to neighborhood homes.
2. Tips for Cohesive Landscaping
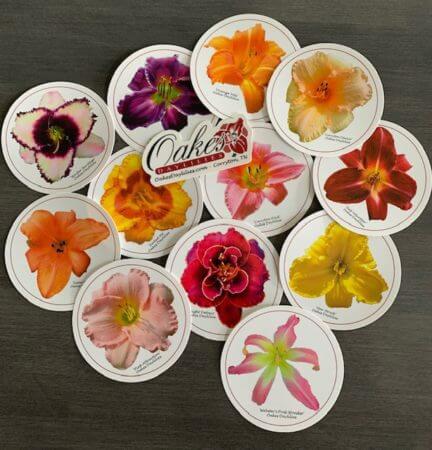
When choosing the varieties for your garden bed, you’ll need to consider factors such as color, height, and bloom season. You can search for daylilies in all three of these categories on our website. When customers ask us for garden design suggestions, we usually offer three simple garden design tips: 1) plant by bloom season, 2) use like colors, and 3) plant by height. Planting by bloom season (and using some reblooming varieties as well) ensures you’ll have blooms all season. Using like colors offers a cohesive look that subtly unifies the garden. We like to suggest someone select a color they want to feature and then plant varieties that incorporate that color. If red is your color, that doesn’t mean you can only plant red flowers (that would be boring!). It means that you might select a red flower with a yellow edge, a yellow flower with a red eyezone, and a dark purple with red undertones that has a small yellow throat. Planting by height is a basic but important component: tall flowers go in the back, smaller flowers peek out around the bottom, and sturdy mid-sized beauties round out the garden. Gorgeous!
3. Decide on Spacing Needs
Spacing is an important aspect to consider when planting daylilies. Daylilies with smaller blooms are typically smaller in size and, likewise, larger bloomed plants are usually larger in size (but not always— there are no absolutes in gardening!). In general, plants with smaller blooms can be placed closer together and larger plants with larger blooms need to be spaced further apart. A good rule of thumb is to plant by a plant’s mature height. I realize that sounds confusing, so here’s another way to say it: if a plant is supposed to be 18″ when fully grown, plant it 18″ from its neighbor. Your beds may look a bit sparse when first planted, but they’ll fill in quickly and will look so nice when they do!
4. Post-Landscaping Care
After planting the daylilies, it’s important to add a layer of mulch. Mulching helps to maintain the temperature of the soil, prevent weed growth, and improve the overall appearance of the garden. We use wood chips here at the nursery, but any type of mulch can be used effectively.
The number one most important thing to remember when planting is water. Water is crucial for newly planted daylilies, and we always give ours a good soak after planting. Daylilies are drought tolerant once they’re established, but we always recommend providing them with an inch or more of water a week—especially in the first few weeks after planting. Regular watering ensures your daylilies will look their best, flower longer and, if they’re reblooming varieties, have the best chance for successful rebloom.
Interested in learning more? Visit our YouTube channel to see all our daylily videos, including this one: Daylily Landscaping Tips for a Beautiful Garden